 |
|
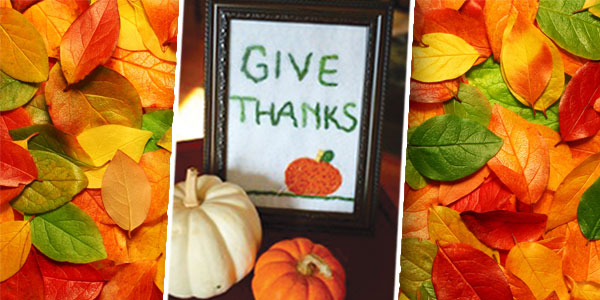
| This weekend, I tried my hand at embroidery and whipped up a simple piece with yarn and felt for the Thanksgiving holiday. I have always been drawn to hand-stitched crafts, but was intimidated by the process. It looked complicated and intricate. It was certainly not a beginner’s kind of craft. Or was it? I scrutinized a few pieces I had on hand and realized it was just basic stitching…definitely worth a try. Of course, not knowing if it would be a success, I didn’t want to spend money on embroidery supplies. So I used what I had in my craft closet and got to work. I was able to rustle up, a piece of felt, yarn, a large needle, scissors, paper, pencil, a ruler and a picture frame. It would be the kindergarten version of embroidery. That’s ok, everybody has to start somewhere. I mapped out a 5×7 rectangle on my felt, to fit my dollar store frame. Next, on paper, I sketched out a few designs. Brainstorming. I drew my pattern on the felt and grabbed my yarn to envision my creation in color. I wanted the letters to have interest, but didn’t love the idea of making them each a different color. I had a variegated skein of green yarn, I decided to go with that for the words. The letters would be slightly lighter and darker shades of green. Perfect. I chose orange, yellow and more of the same green to create the pumpkin. The stitching itself was simple, very basic. I poked my threaded needle up through the fabric at the top of a letter and then down again, creating a half centimeter long stitch. Then I moved my needle on the underside of the felt about half a centimeter past the end of the first stitch and popped up. I moved the needle back toward the end of the first stitch on the top of the felt and poked the needle down. Now I had two stitches. I just continued this process until all the letters were done. Super easy. I moved on to my pumpkin and trim using the same stitches, outlining each element first and then filling it in. It was actually a very enjoyable process. I placed the finished piece in the frame, ready for the holiday. Easy, handmade and perfectly imperfect embroidery for all. Happy Thanksgiving. | |


 20 lucky winners will win $500 each in prizes totaling $10,000.